

Stripes and numbers wall clock sticker
Reference: A39027Step up your wall decor game with our stunning Stripes and Numbers Wall Clock Sticker! This graphic design masterpiece combines vibrant stripes, elegant numbers, and a classic clock shape to create a unique and eye-catching piece. The satin finish ensures that there are no annoying reflections from indoor or outdoor light, allowing you to fully enjoy the brilliant colors without any glare. Made with high-quality materials, this sticker is resistant, washable, and can be applied to any flat surface. With its easy installation and durability of 8-10 years, this clock sticker is not only a beautiful decoration but also a practical way to keep track of time!
Why this product should be used to decorate a wall
Transform your walls into a masterpiece with our Stripes and Numbers Wall Clock Decal! This stunning sticker combines the elegance of stripes and numbers with the functionality of a clock. The vibrant colors and unique design will add a touch of style to any room. Whether you want to create a focal point or simply enhance your existing decor, this clock sticker is the perfect choice. With its easy application and versatile nature, it allows you to effortlessly elevate the aesthetic appeal of your walls!
How to apply this product to a wall
Simply peel off the backing and carefully stick it onto a clean and dry wall. Smooth out any air bubbles using a spatula or a credit card. The built-in adhesive ensures a secure and long-lasting bond. This sticker is specifically designed to fit perfectly around a clock mechanism, making it a seamless addition to your wall. Get ready to transform your space with this easy-to-use and visually stunning clock decal!
Why buy this product in our online store
When it comes to finding the perfect clock decal, look no further! Our Stripes and Numbers Clock vinyl Decal is not only designed to be applied on walls but can also be used on any flat surface. Whether you want to spruce up your living room, bedroom, office, or even your kitchen, this versatile sticker will instantly add charm and style to any space. We pride ourselves on offering high-quality products made with the utmost attention to detail. With its durability, ease of installation, and stunning design, this clock decal is a must-have for anyone looking to elevate their decor!

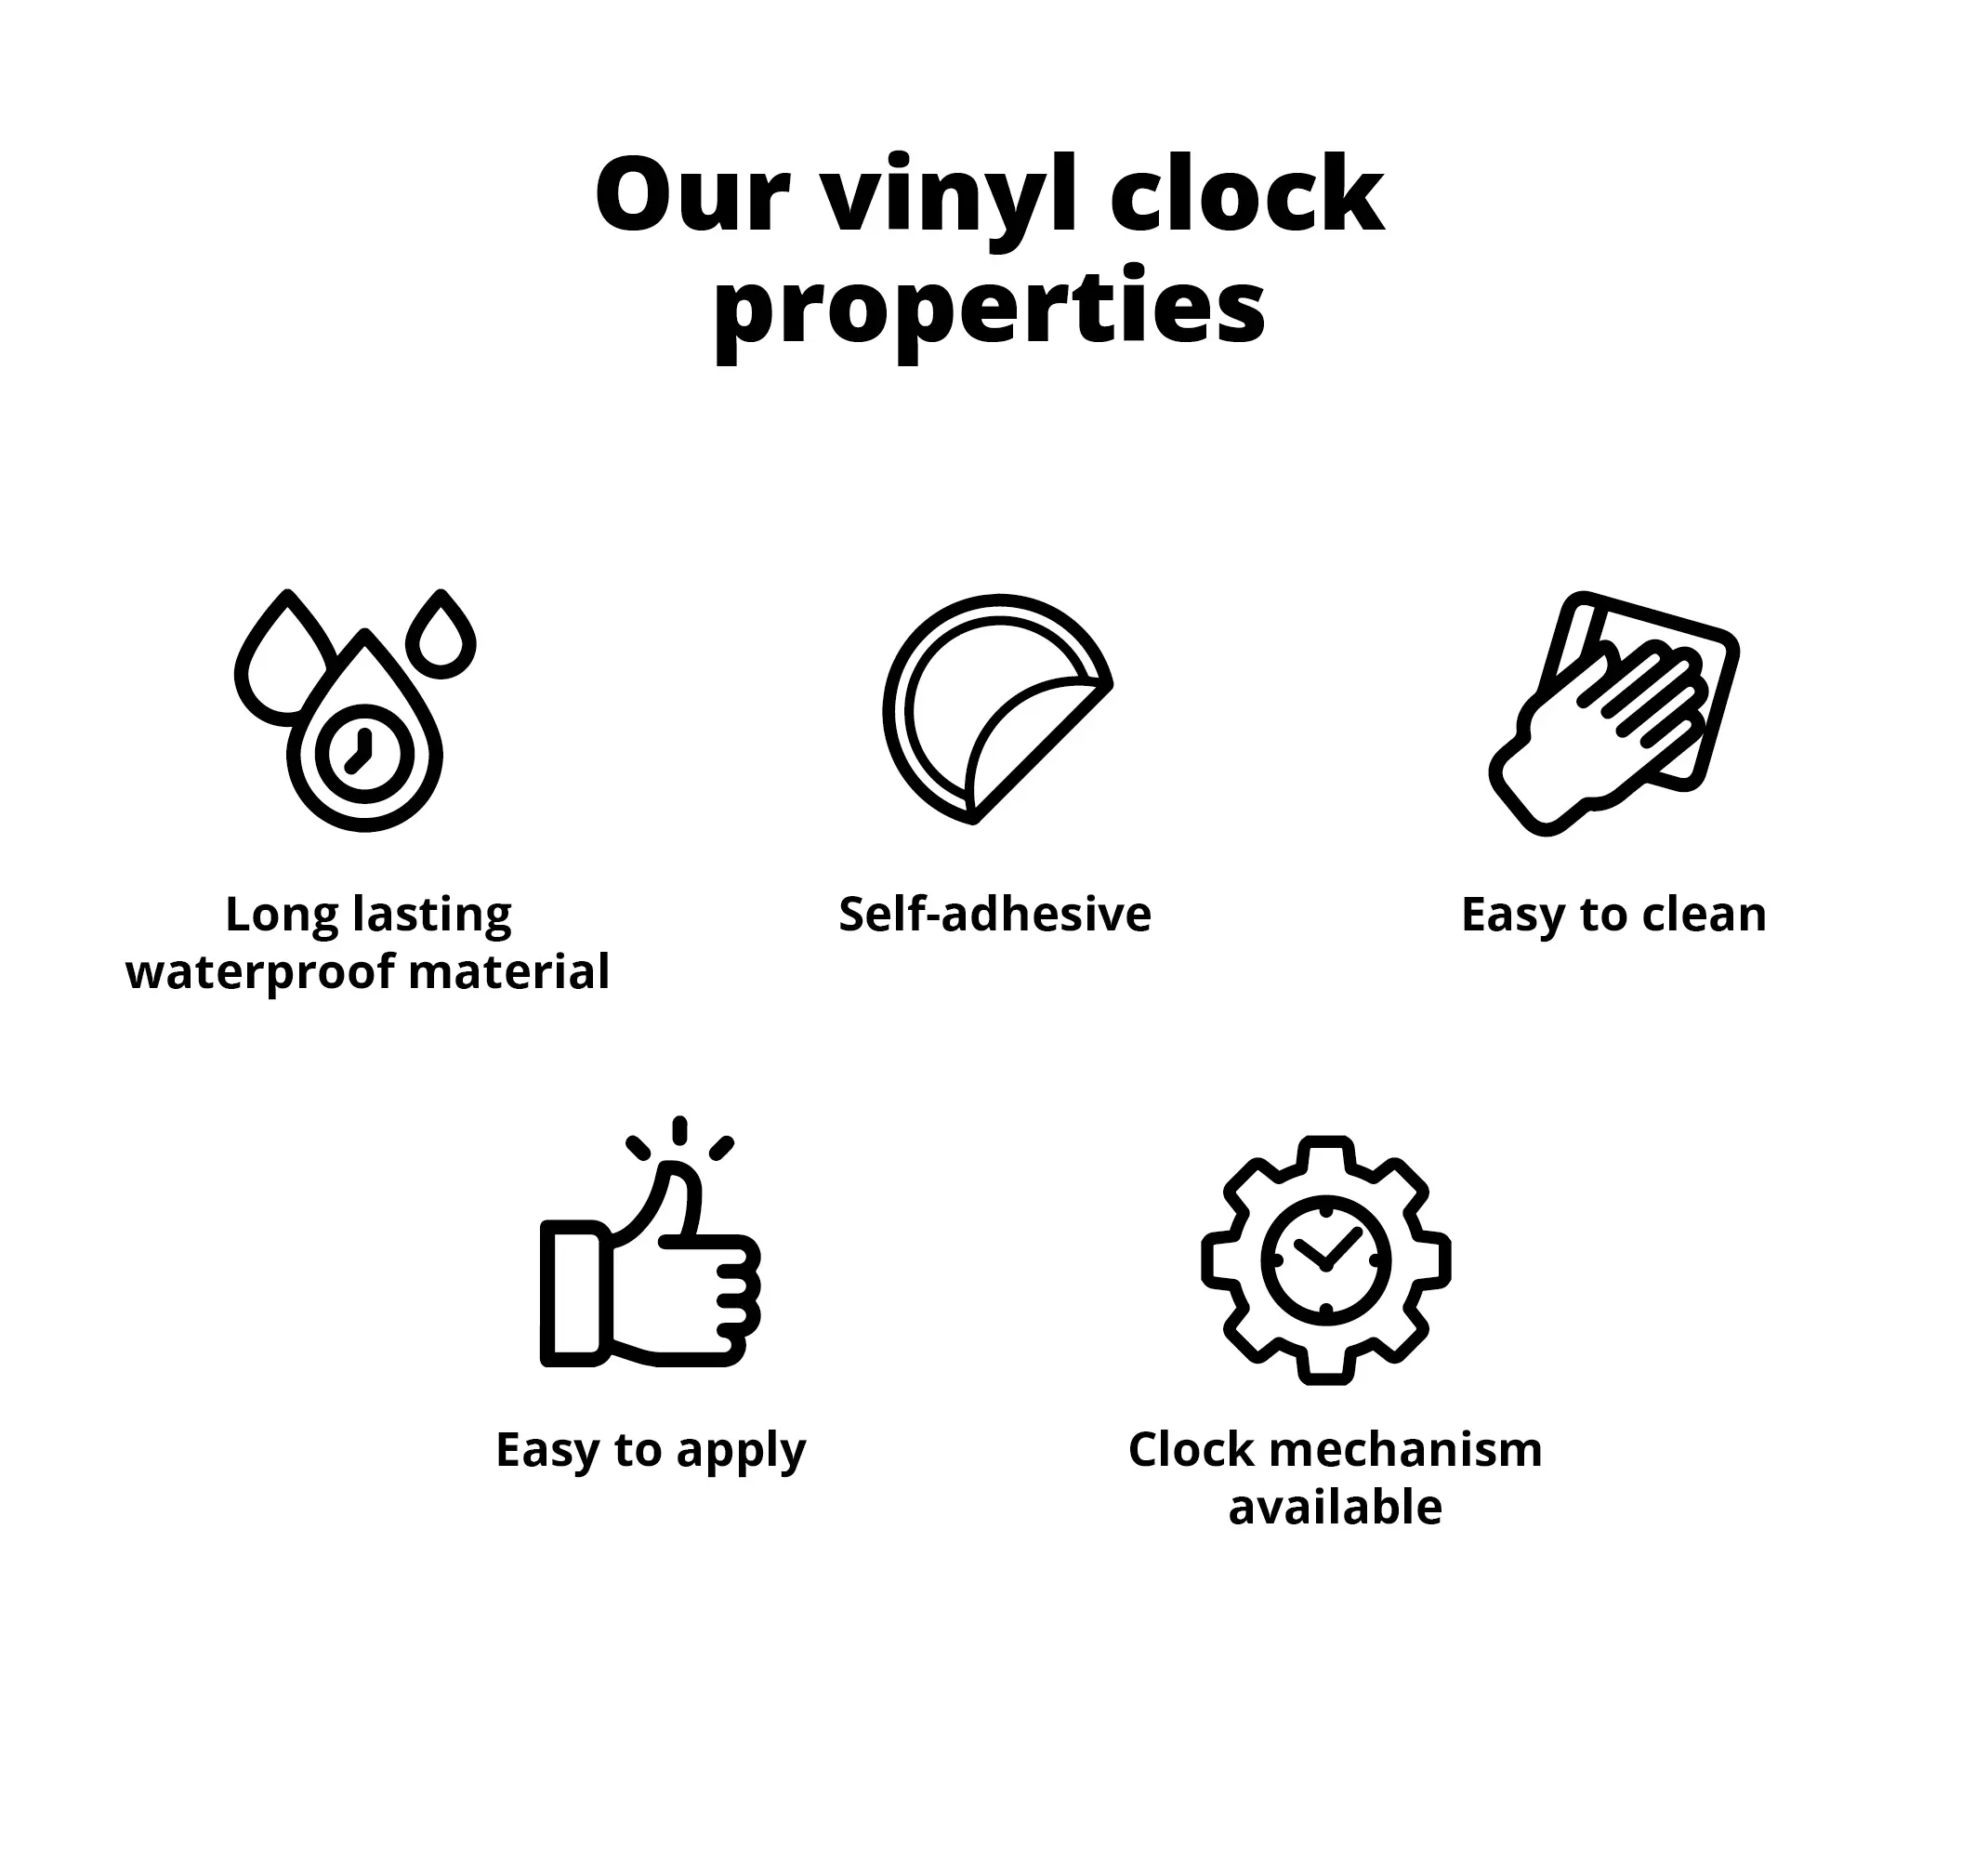
SELF-ADHESIVE
EASY TO CLEAN
EASY APPLICATION
CLOCK MECHANISM AVAILABLE
If you have problems when applying a sticker and you are not 100% sure of how to do it correctly, this easy tutorial will be a great help for you. It explains in a precise way and by following the instructions, this is the best way to know how to place a sticker.
There's no more excuses not to change the decoration of your house because this tutorial is very simple and clear, perfect to solve any kind of doubts. And if you have any doubt, or if you have any unforeseen problem when applying the stickers, you can always contact us by e-mail.
Applying a decal can be a fun process, don't miss out!
Necessary materials:
1- A spatula or similar (credit card, ID)
2- A clean cloth
What will I receive?
You will receive a cardboard tube packaging/bubble envelope that protects the sticker and its accessories from any damage. In the case that you also purchased a spatula, this will also be inside the tube/bubble envelope. Additionally, we are attaching a square sample of sticker so you can conduct adhesion and placement tests before applying the purchased sticker.
If you won ́t be applying the sticker until a few weeks later, then it will be better to take the sticker out of the tube/bubble envelope and keep it stretched out.
How to get started?
You will need to make sure that the surface where you will be sticking the sticker onto is in good condition; otherwise the durability of the sticker is not guaranteed as the grip won't be correct. The surface must be dry, free from dirt and impurities such as powder, liquids and stains...
We recommend that if you ́re going to stick your sticker on a painted wall, it should be plastic paint as this is the most recommended.
We do not recommend the application of our stickers on freshly painted surfaces. If the application surface of the sticker has been painted recently, we recommend a period of about 4 or 6 weeks before applying the sticker.
Never clean the surface with glass cleaner. This product leaves particles that are not compatible with the adhesive. We recommend cleaning the surface with water or cleaning alcohol from the pharmacy.
The stickers sold by Tenstickers are for any smooth non-porous surface. If yours is otherwise please contact info.nz@tenstickers.com to find a solution.
* If you have purchased a vinyl blackboard sticker you have to place in an absolutely smooth surface. The slightest irregularity on the surface will affect the writing and erasing on the board.
**The wrapping of the vinyls into the tubes might cause some wrinkles in the conveyor paper that is used to facilitate the application. When you receive the package we recommend to extend the vinyls and put pressure on the wrinkles, press again with the spatula or a similar object before the application. Vinyl is a flexible material and therefore any wrinkle that affects the paper has no effect on the vinyl once the application is done correctly.
How to apply the sticker?
01- You remove the seal from the cardboard tube; take out the sticker and the template. Have a table or a floor ready, and check that it is the correct sticker that you have ordered. Depending on the size of your sticker, your delivery may come in one or more pieces (in the same cardboard tube). If you ordered a photo mural, please be sure that there aren ́t any missing pieces to complete the mural.
02- Use the spatula very hard across the whole surface of the protective paper to ensure that the sticker sticks properly. We insist especially on the parts where the design has very small details.
03- Take measurements of the wall and adjust the space for the sticker.
04- Bend the white silicon paper about 5 centimetres from the top.
05- You stick the upper part of the sticker onto the wall in order to secure the sticker on the wall before removing the white silicon paper at the back.
06- You then remove the white paper at the back of the sticker as you press the sticker down. You will then use the spatula or anything similar to stick down the sticker onto the wall. The direction of the spatula (or similar) will always be from the centre and working your way outwards to the sides.
07- You will then go over the sticker several times with the spatula on top of the clear protective paper to ensure that the sticker is securely stuck onto the wall.
With multicoloured stickers, the first spread with the spatula needs to be very soft because the sticker is repositionable and it can easily come off until it has been stuck on properly on the wall. Once stuck on correctly you will not be able to reposition it.
08-By now the sticker is already stuck onto the wall. Now all you need to do is remove the clear protection paper on top. You will pull this at an angle of 180 degrees.
Some stickers will not have transport paper due to their easy application. Completing step 7 of the instructions will be mean your sticker will be properly applied.
If you want to install your sticker on glass, here are the recommendations for a correct installation.
It is advised to have the following tools:
Spray bottle, water, soap (like Fairy), paper, and a spatula.
1- Spray the glass with a mixture of water and soap from your spray bottle (approximately 200 ml of water and 2-3 drops of soap). IMPORTANT: NEVER USE GLASS CLEANER.
2- Properly dry the glass to remove any dirt and impurities.
3- Spray the glass again with the same solution from the spray bottle.
4- Place the sticker in the desired area (since the glass contains water and soap, the sticker becomes removable, avoiding possible bubbles or creases) and use the spatula to remove any excess water and soap that remains between the sticker.
5- Allow it to dry for 12-24 hours, and your sticker will be perfectly installed.
NOTE: If your sticker has transfer paper, it is advisable not to remove it until the drying time of 12/24 hours has passed.
Express delivery within 72 hours to your home address available.