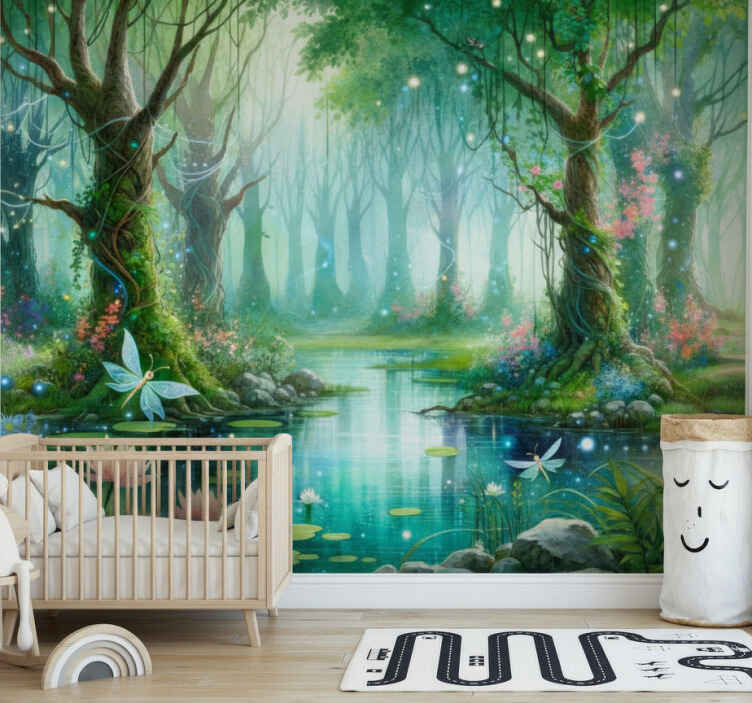
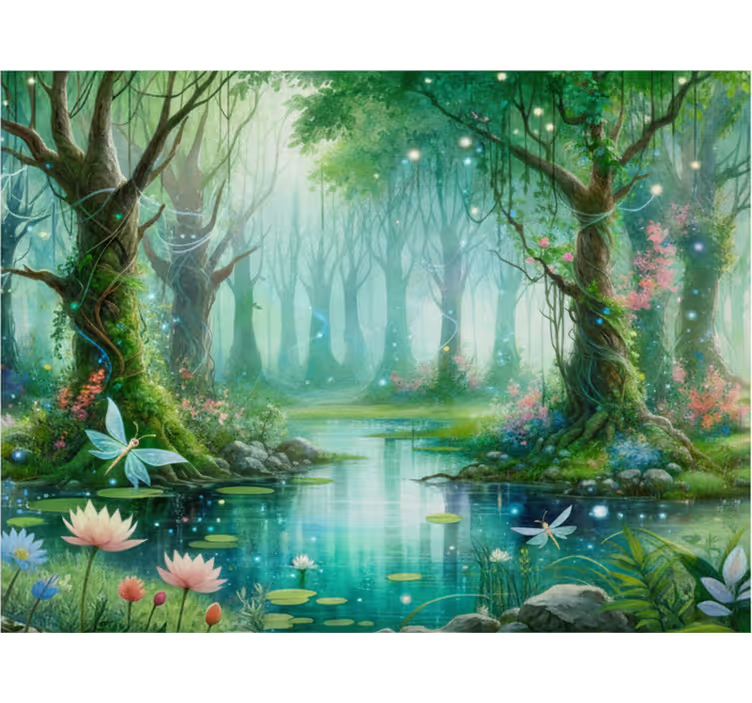
Forest wall mural whimsical fairy design
Reference: F11950Transform your space with our enchanting Forest wall mural whimsical fairy design, where vibrant creatures frolic amidst lush greenery. This stunning mural showcases a magical forest teeming with whimsical fairies, detailed flora, and captivating colors that breathe life into any room. Crafted with matt colours, it promises a soft touch that enhances the overall aesthetic of your decor.
Why this product should be used for decoration
The Forest wall mural whimsical fairy design forest wall mural is the perfect addition to your home, inspiring feelings of wonder and imagination. Ideal for children’s rooms, play areas, or any space where creativity is encouraged, this mural creates a whimsical retreat that sparks joy and fantasy. Elevate your interior design and let your walls tell a story!
How to apply this product
Applying the Forest wall mural whimsical fairy design forest wall mural is simple and straightforward. Use glue on the wall or directly on the product, employing tools like a roller, brush, and cutter for a seamless finish. Enjoy the transformative effect of this mural in no time!

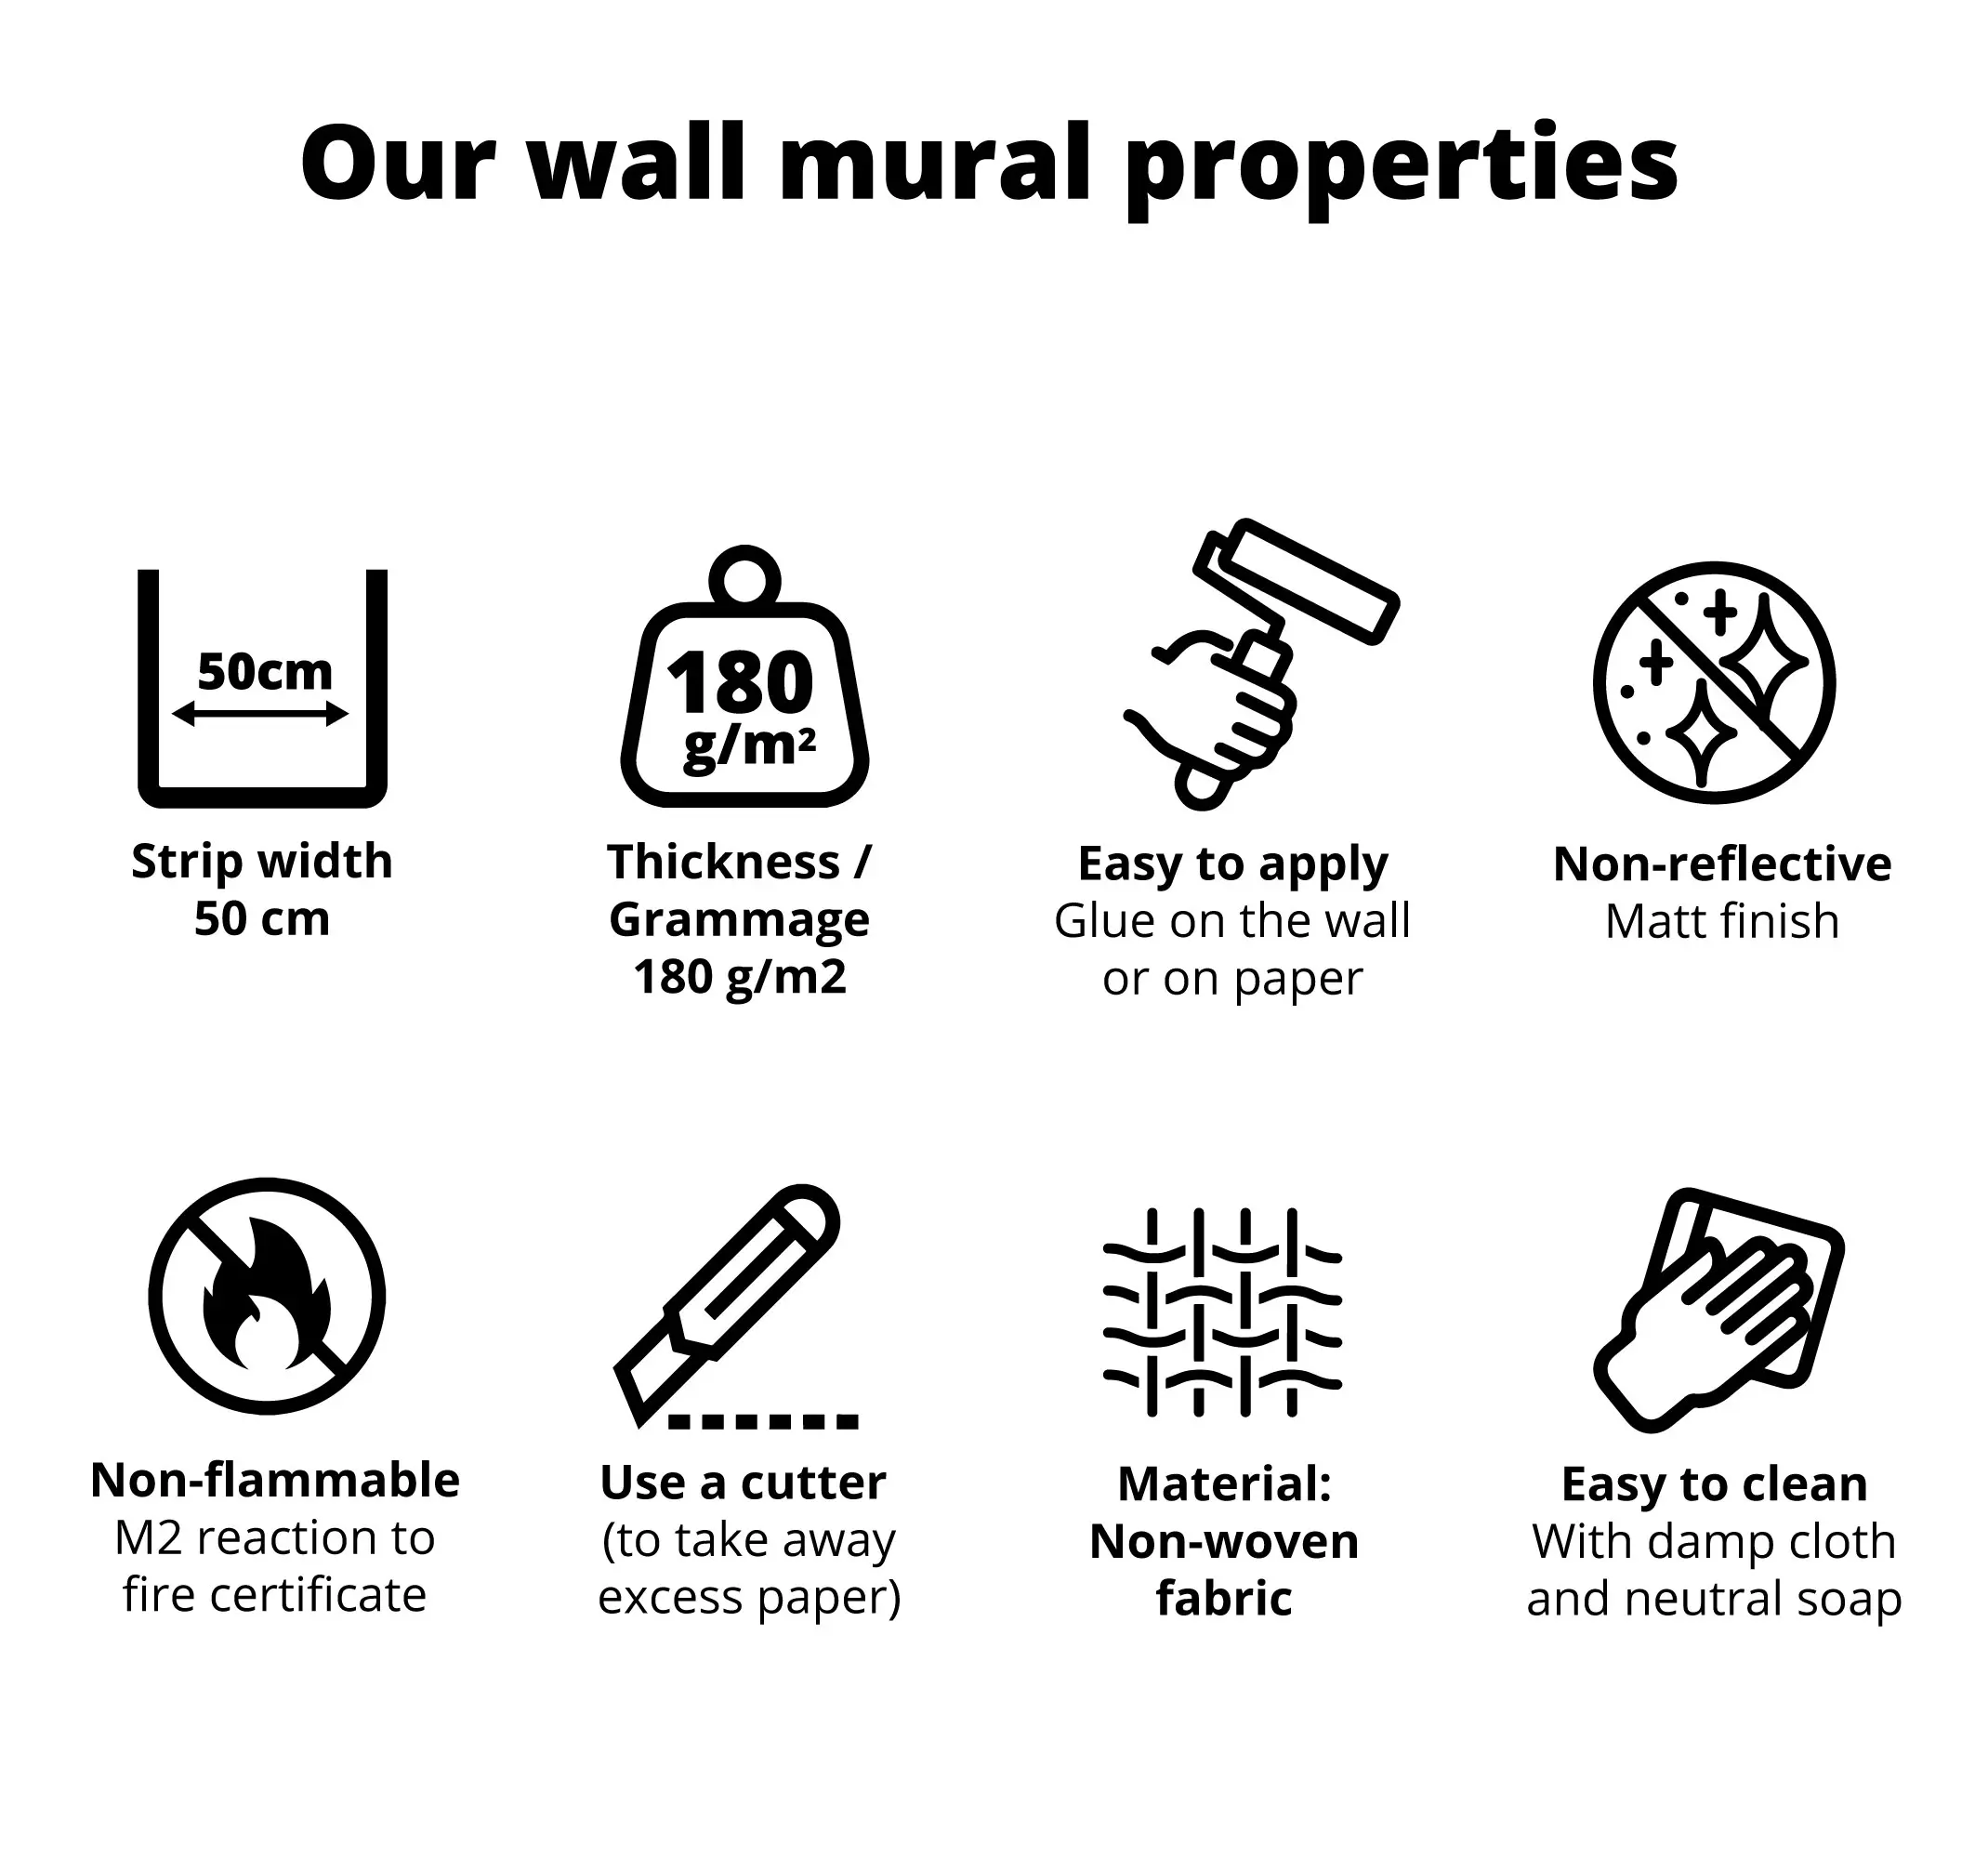
Strip width: 50 cm
Thickness / weight: 180 g/m2
Custom-made: select the measurements you want and we will adapt the design
100% customizable product: if you want to modify any element of the design, do not hesitate to contact us
Matte finish (satin): non-glossy finish with bright and elegant colors
Easily washable product: Can be gently cleaned with a damp cloth or a non-abrasive sponge and water
Easy installation (bubble-free): Stick directly onto the paper or wall
Suitable surface: Any flat surface
Installation tool kit available
Easy to clean: with a damp cloth and mild soap (do not use harsh products)
Fireproof certificate: M2
Easy to remove from the wall: peels off dry
100% recyclable product: made with eco-friendly inks
100% secure payments
Also, it will be wrapped in bubble wrap inside a sturdy cardboard package that protects the product during shipping.
Recommended materials:
1. Glue
2. Bucket
3. Ruler/tape measure
4. Spirit level
5. Glue brush
6. Brush/roller
7. Cutter
8. Sponge or cloth.
Before wallpapering (preparation):
Surface: The wall must be dry, clean, free of grease and free of any residue from previous wallpaper. Fill and smooth any large imperfections.
Glue: Mix one packet of glue (150g) with 4-5 litres of water. Leave to stand for 5-10 minutes and stir. This is sufficient for up to 25 m².
Temperature: Do not apply the wallpaper at temperatures below 10∘C or in low humidity. The optimum temperature is 18−21∘C.
Application:
Marking: Use a spirit level and ruler to draw vertical guide lines every 50 cm on the wall. Start from a window frame if applicable.
Pasting: Apply a thin layer of paste to:
Option 1: Directly onto the wall (slightly wider than the roll).
Option 2: Evenly on the back of the paper, from the centre outwards. Fold the ends so that the glued parts touch and leave to rest for a few minutes to allow it to soak slightly.
Hanging: Place the top of the roll on the wall and align it with the guide line. Slide gently if necessary.
Smoothing: Use the brush from the centre outwards (top to bottom) to remove air bubbles. Avoid getting glue on the brush if it has been applied to the wall.
Continuing: Repeat the steps for the following rolls, ensuring that the edges fit together and match the design.
Clean: Remove excess glue with a damp sponge or cloth.
After gluing:
Secure: Smooth the entire surface with the roller.
Drying: Small bubbles will disappear as they dry. Keep the room temperature above 10∘C for the first few days, avoiding excessive heating.
Express delivery within 72 hours to your home address available.