

Nature wall mural sunlight through trees
Reference: F12206A tranquil forest scene featuring tall trees enveloped in lush greenery. Sunlight streams through the canopy, illuminating the earthy ground and large rocks, creating a serene ambiance that invites exploration of the natural surroundings.
Transform your space with the stunning Nature wall mural sunlight through trees, a captivating design that brings the essence of the forest indoors. This beautiful mural showcases majestic trees, vibrant moss, and sunlit rocks, creating a serene atmosphere reminiscent of a peaceful nature retreat. The photographic quality of the mural captures the intricate details of the natural world, making it a perfect addition to any room!
Why this product should be used for decoration
Elevate your interior with the Nature wall mural sunlight through trees nature wall mural, which serves as a gateway to tranquility and inspiration. This mural not only beautifies your space but also promotes a sense of calm and connection to nature. Imagine walking into a room that feels like an enchanting forest, evoking feelings of peace and relaxation. Let your walls tell a story of nature’s beauty!
How to apply this product
Applying the Nature wall mural sunlight through trees nature wall mural is simple and enjoyable! All you need is glue, a roller, and a brush. Just follow the basic steps to transform your wall into a breathtaking nature scene effortlessly!

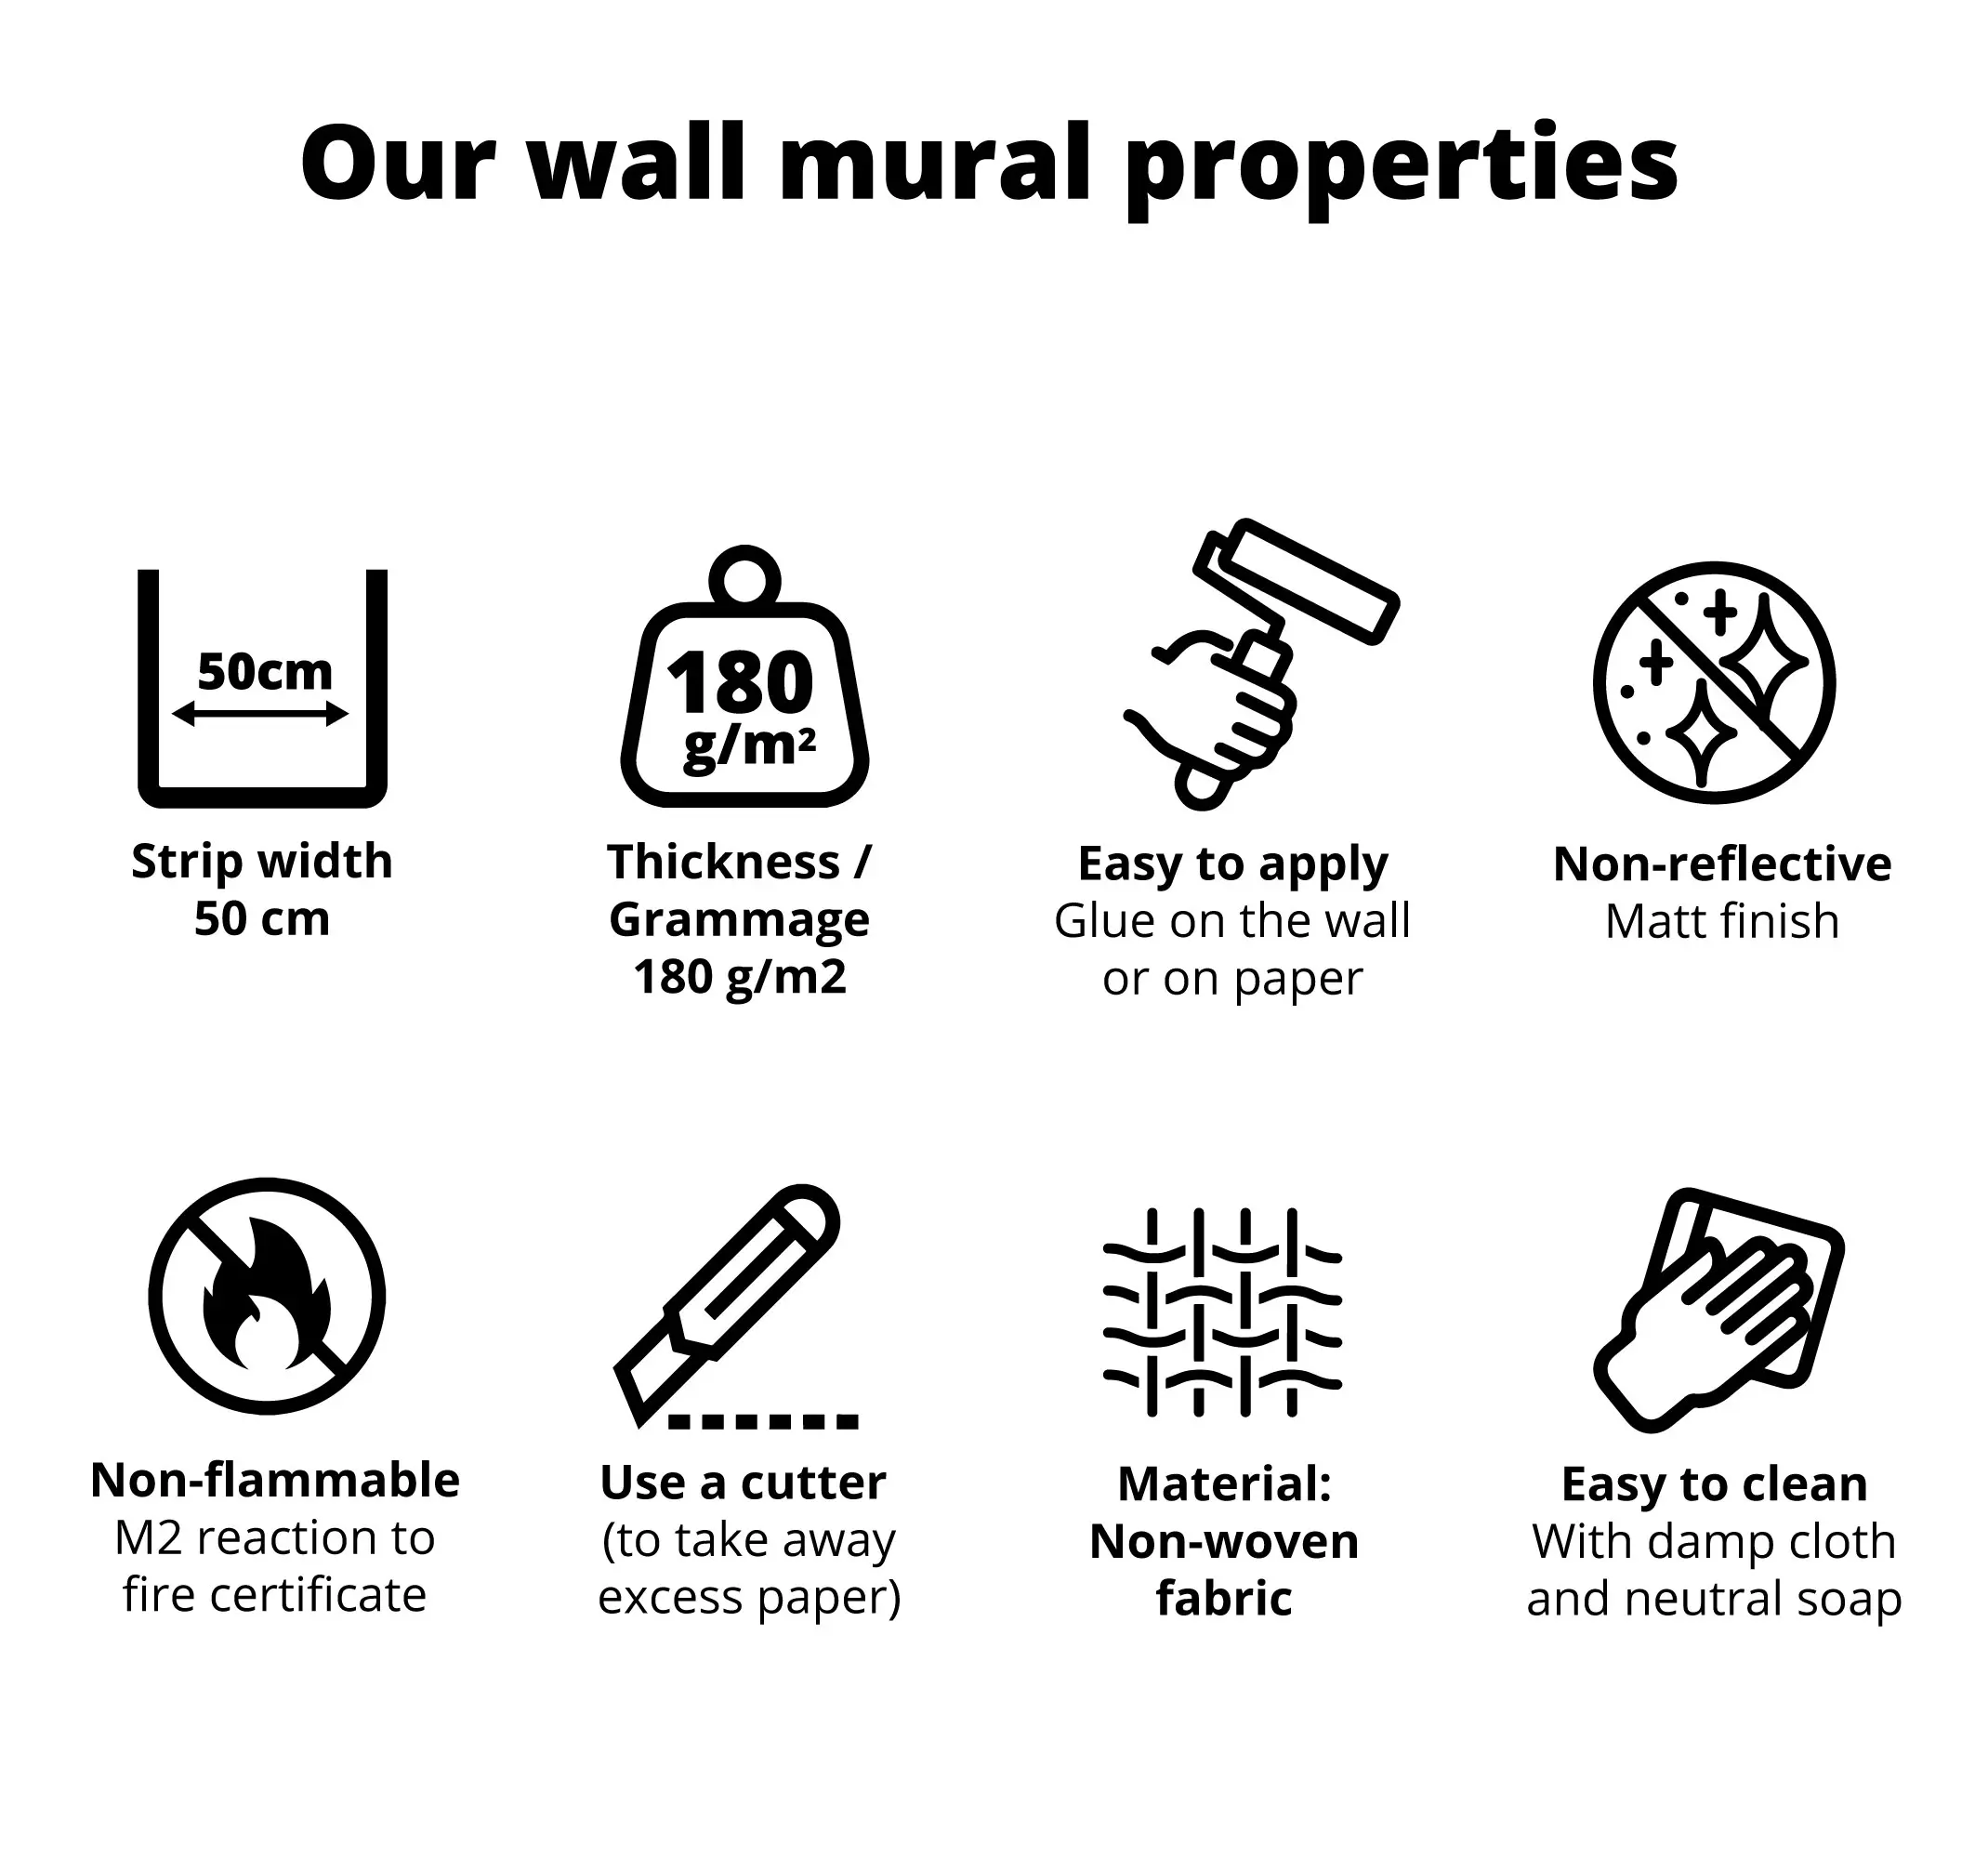
Strip width: 50 cm
Thickness / weight: 180 g/m2
Custom-made: select the measurements you want and we will adapt the design
100% customizable product: if you want to modify any element of the design, do not hesitate to contact us
Matte finish (satin): non-glossy finish with bright and elegant colors
Easily washable product: Can be gently cleaned with a damp cloth or a non-abrasive sponge and water
Easy installation (bubble-free): Stick directly onto the paper or wall
Suitable surface: Any flat surface
Installation tool kit available
Easy to clean: with a damp cloth and mild soap (do not use harsh products)
Fireproof certificate: M2
Easy to remove from the wall: peels off dry
100% recyclable product: made with eco-friendly inks
100% secure payments
Also, it will be wrapped in bubble wrap inside a sturdy cardboard package that protects the product during shipping.
Recommended materials:
1. Glue
2. Bucket
3. Ruler/tape measure
4. Spirit level
5. Glue brush
6. Brush/roller
7. Cutter
8. Sponge or cloth.
Before wallpapering (preparation):
Surface: The wall must be dry, clean, free of grease and free of any residue from previous wallpaper. Fill and smooth any large imperfections.
Glue: Mix one packet of glue (150g) with 4-5 litres of water. Leave to stand for 5-10 minutes and stir. This is sufficient for up to 25 m².
Temperature: Do not apply the wallpaper at temperatures below 10∘C or in low humidity. The optimum temperature is 18−21∘C.
Application:
Marking: Use a spirit level and ruler to draw vertical guide lines every 50 cm on the wall. Start from a window frame if applicable.
Pasting: Apply a thin layer of paste to:
Option 1: Directly onto the wall (slightly wider than the roll).
Option 2: Evenly on the back of the paper, from the centre outwards. Fold the ends so that the glued parts touch and leave to rest for a few minutes to allow it to soak slightly.
Hanging: Place the top of the roll on the wall and align it with the guide line. Slide gently if necessary.
Smoothing: Use the brush from the centre outwards (top to bottom) to remove air bubbles. Avoid getting glue on the brush if it has been applied to the wall.
Continuing: Repeat the steps for the following rolls, ensuring that the edges fit together and match the design.
Clean: Remove excess glue with a damp sponge or cloth.
After gluing:
Secure: Smooth the entire surface with the roller.
Drying: Small bubbles will disappear as they dry. Keep the room temperature above 10∘C for the first few days, avoiding excessive heating.
Express delivery within 72 hours to your home address available.