Sea wall mural tranquil ocean waves
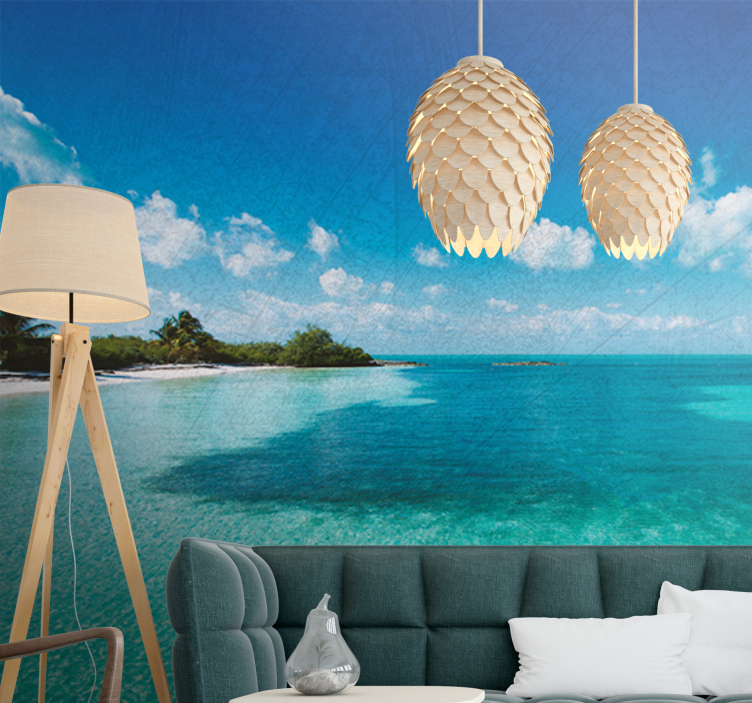
Reference: F9291A stunning view of serene ocean waves meets a tropical island, framed by a bright blue sky and fluffy clouds. The gentle coastline invites relaxation, while the vibrant marine scenery captivates the senses, creating a peaceful escape to nature's beauty.
Immerse yourself in the serene beauty of our Sea wall mural tranquil ocean waves. This stunning design captures the essence of a tropical paradise, showcasing a breathtaking landscape where the azure waters meet the horizon under a picturesque sky. With its vibrant depiction of the beach, sea, and islands, you will feel as though you are gazing out at the tranquil ocean waves from the comfort of your own home. The soft clouds drifting above add a sense of peacefulness, making this mural an ideal choice for anyone seeking a touch of nature's beauty!
Why this product should be used for decoration
The Sea wall mural tranquil ocean waves sea wall mural is more than just a decorative piece; it is a gateway to your personal oasis. This mural transforms any space into a relaxing retreat, inspiring a sense of calm and tranquility. By bringing the beauty of the ocean indoors, you invite the soothing sounds and sights of nature into your daily life, creating a peaceful environment that enhances your well-being. This mural serves as a perfect backdrop for various settings, from living rooms to bedrooms, making every moment spent in those spaces feel like a vacation!
How to apply this product
Applying the Sea wall mural tranquil ocean waves sea wall mural is a straightforward process that can be accomplished with ease. Simply use glue to adhere the mural to your wall, employing a roller and brush for a smooth finish. For precise cutting, a cutter will ensure that your mural fits perfectly in your designated area. With a little care, you will transform your space into a tranquil oasis in no time!

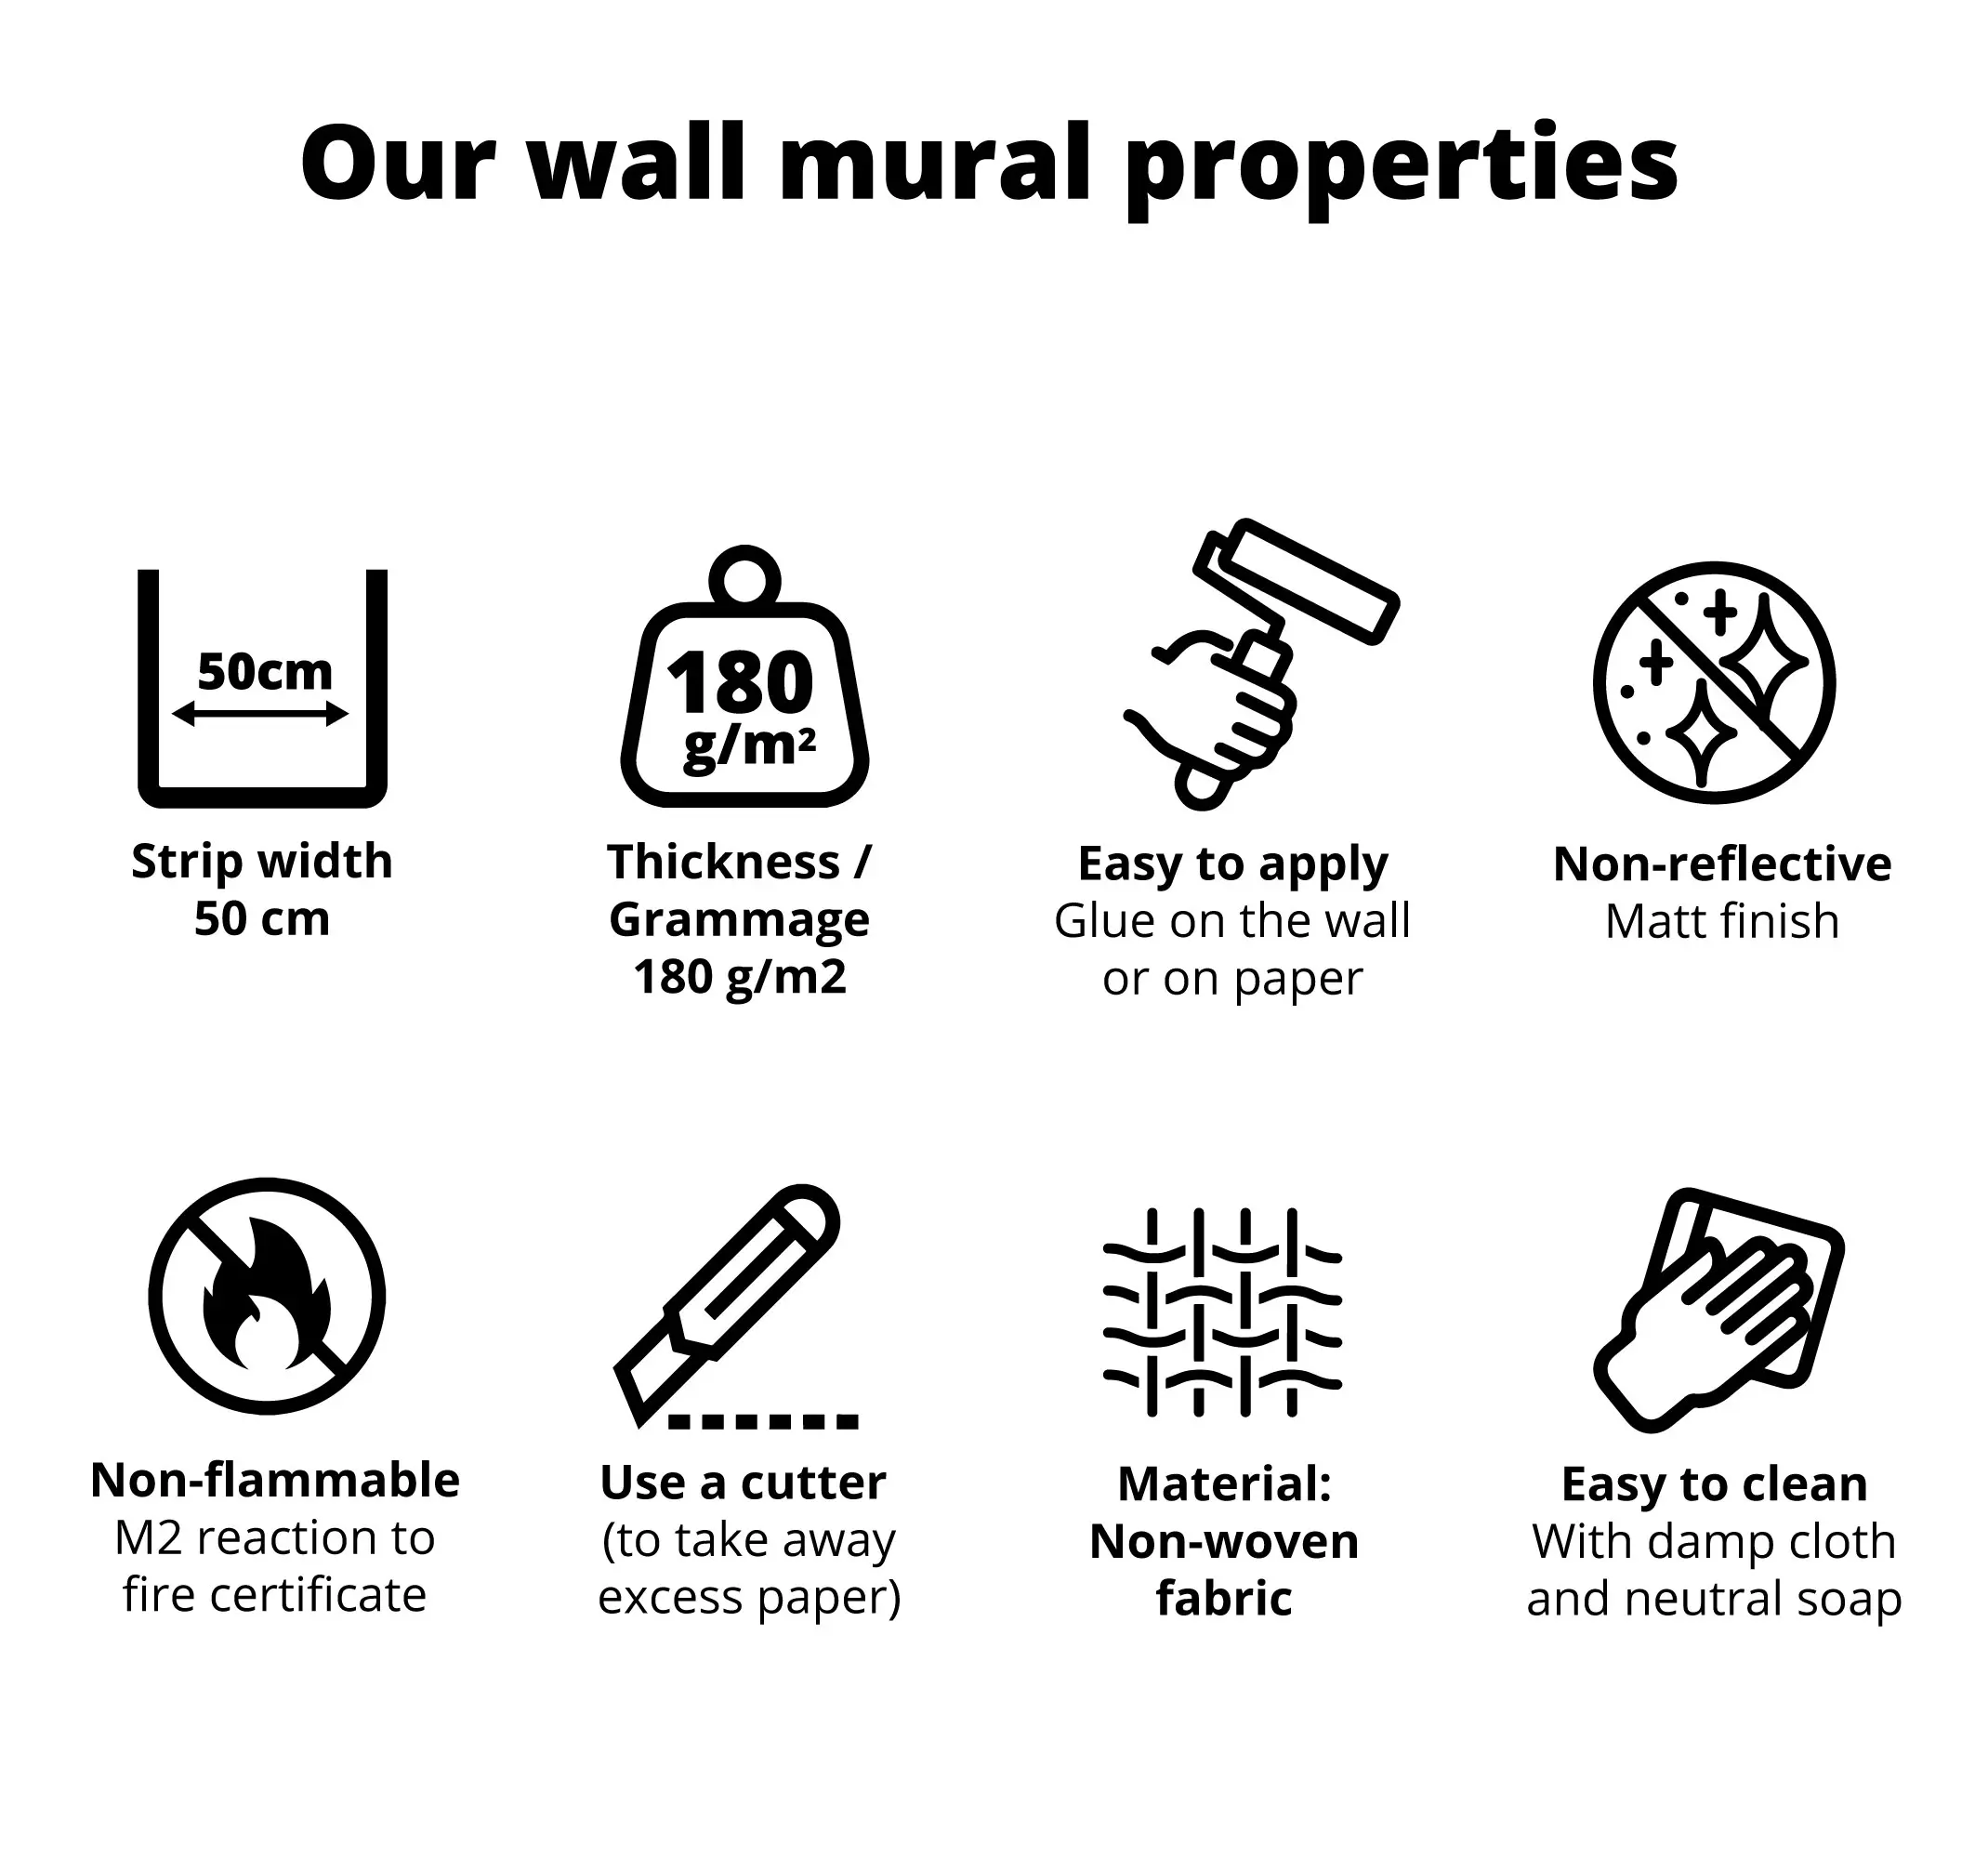
Strip width: 50 cm
Thickness / weight: 180 g/m2
Custom-made: select the measurements you want and we will adapt the design
100% customizable product: if you want to modify any element of the design, do not hesitate to contact us
Matte finish (satin): non-glossy finish with bright and elegant colors
Easily washable product: Can be gently cleaned with a damp cloth or a non-abrasive sponge and water
Easy installation (bubble-free): Stick directly onto the paper or wall
Suitable surface: Any flat surface
Installation tool kit available
Easy to clean: with a damp cloth and mild soap (do not use harsh products)
Fireproof certificate: M2
Easy to remove from the wall: peels off dry
100% recyclable product: made with eco-friendly inks
100% secure payments
Also, it will be wrapped in bubble wrap inside a sturdy cardboard package that protects the product during shipping.
1. Glue for photomurals and wallpaper.
2. Bucket to prepare the glue.
3. Ruler or Meterstick.
4. Spirit level
5. Gluing brush
6. Brush and roller.
7. Cutter.
8. Soft sponge or cloth.
Prior to applicationPrepare the wall where you want to put the Wallpaper or Wall mural. The surface must be dry, clean and free of grease.
The material may cover small imperfections in the wall. However if there are deep cracks/grooves before wallpapering, they should be filled and smoothed. It is also necessary to remove any leftover residue from previous wallpapers/wall murals.
Prepare the glue, mix the 150g glue pack with 4-5 liters of water, stir continuously. This will produce an adequate amount of paste for 25 m2. Let the mixture stand for 5-10 minutes and then strir vigorously before applying.
* Due to the drying process of the glue, it is not recommended to apply wallpapers in rooms with low humidity and with temperatures of below 10ºC . The optimal room temperature during the application and drying process is between 18-21ºC
ApplicationWith a level and a ruler, mark vertical straight lines on the wall every 50cm. These lines will be where you apply the rolls of wallpaper or wall murals.
If there is a window in the wall you wish to apply the wallpaper on, we advise to start applying from the window frame and then go along the wall.
There are 2 different options for applying the glue -
1. With a brush, apply a thin layer of glue on the wall. This can be wider than the 50cm roll.
2. Starting from the center and working outwards, apply the glue onto the paper. Leave for a few minutes to dampeneping, ensuring to keep the glued bits in contact with each other (glue with glue), do this by folding the ends of the paper together.
Next, place the top end of the roll onto the wall. Brush from the center, to the sides.
Check to see if the wallpaper is aligned with the marking made on the wall previously. If not aligned, gently slide the roll across to the corret position.
Using the brush, press the wallpaper gently to remove any air bubbles. Make circular motions, starting from the top and working your way down. If you applied the glue to the wall then be careful to not get any glue on the brush.
Repeat these steps, making sure to align the edges.
If there is excess glue this can be removed wth a damp sponge or cloth.
After ApplicationEnsure that the wall paper or mural is flat against the entire wall.
Use the roller to smooth over the surface once more. Once the wallpaper has been applied, small bubbles may be visible. These will disapear over the next few days.
During the first few days after application it is important that the room temperaure remains constant, and remains above 10ºC. Avoid excessive heating of the room in which the wallpaper has been applied.
Express delivery within 72 hours to your home address available.


